
If you’ve recently purchased or downloaded a Canva template and you’re wondering how to make it your own, you’re in the right place! Canva is an easy-to-use platform that allows you to personalise templates without any design experience. Follow these simple steps to edit your template and create something uniquely yours.
Step 1: Open the Template Link
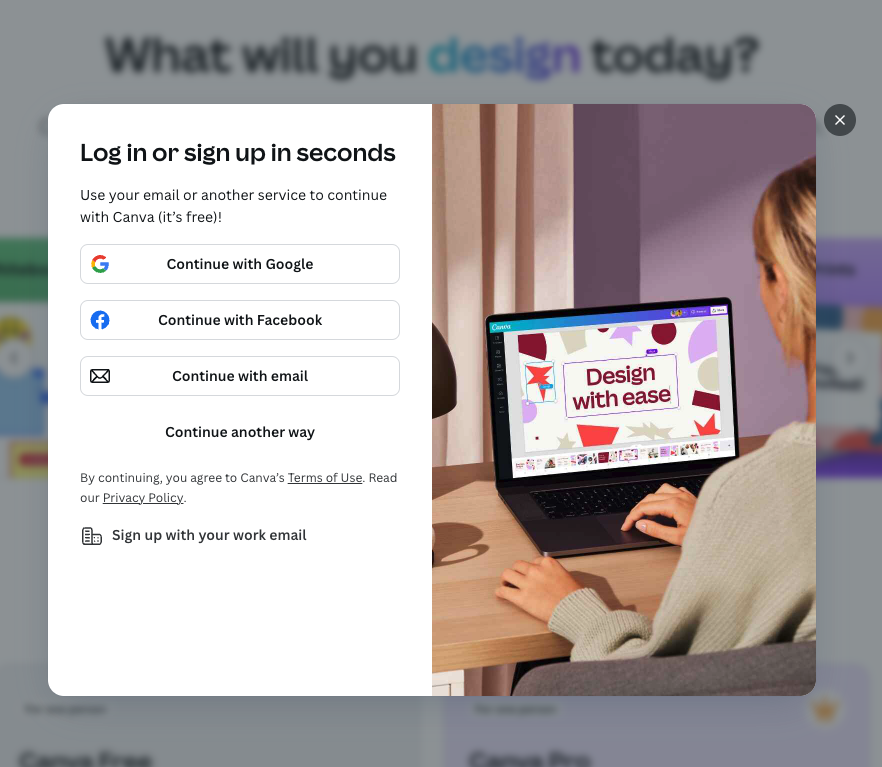
Once you’ve received the Canva template link, simply click on it. This will open the template directly in your Canva account. If you don’t have a Canva account yet, you’ll need to create one (it’s free!).
Tip: If you’re not signed in, Canva will prompt you to log in or sign up.
Step 2: Edit the Text
Click on any text box in the template to start editing. You can change the wording, font style, size, and colour to match your preferences. Canva provides a wide range of fonts, but you can also upload your own if you have a specific style in mind.
Pro Tip: Keep the text clear and easy to read, especially if it’s an invitation or announcement.
Step 3: Customise the Colours
To change the colours, click on any element and use the colour tool in the top toolbar. You can choose from Canva’s palette or input specific hex codes for a more tailored look. This is especially handy if you’re trying to match a specific theme or brand.
Step 4: Replace Images
If the template includes images, you can replace them with your own photos or illustrations. Simply click on the image, hit “Replace,” and upload your image or choose from Canva’s extensive library of free and premium images.
Step 5: Add or Remove Elements
If you’d like to personalise the design further, you can add extra text boxes, shapes, or illustrations using Canva’s toolbar on the left side. You can also remove any elements that you don’t need by selecting them and hitting the delete button.
Step 6: Review Your Design
Once you’ve made all your changes, take a moment to review the entire design. Check for any typos, ensure the alignment looks good, and make sure all the colours and fonts are consistent.
Step 7: Save and Download
When you’re happy with your design, hit the “Share” button in the top right corner. From there, you can download your file in various formats such as PDF, PNG, or JPEG, depending on your needs. If it’s an invitation or announcement, PDF is typically best for printing.
Step 8: Print or Share
You can now print your design at home, send it to a local print shop, or share it digitally via email or social media. If you’re printing, Canva also offers a print-on-demand service with delivery options in Australia.
hat’s it! You’ve successfully edited your Canva template, and now you have a personalised design ready to go. Canva’s user-friendly interface makes customising templates simple and fun, so feel free to get creative and make the design your own!
FAQs
- Do I need a paid Canva account to edit templates?
No, Canva offers a free version that allows you to edit templates. However, some premium elements or fonts might require a Canva Pro subscription. - Can I edit the template on my phone?
Yes! Canva’s mobile app makes it easy to edit templates on the go. Just open the template link on your phone, and you can make changes wherever you are. - What if I need help with the design?
Canva has an extensive help centre, or you can reach out to the template creator for support.
Enjoy creating your personalised designs with Canva!